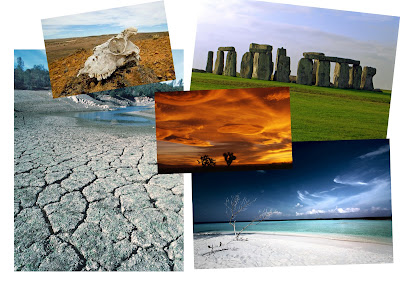
Image references used for the September calendar design.
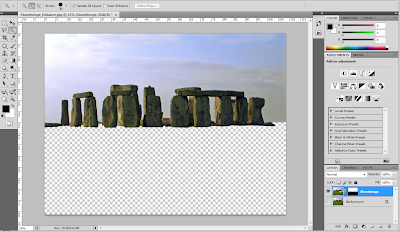
Open a new document and the size is set to landscape A4 size. Place a Stonehenge image is as the background image. Double click the image to unlock it. Then adjusted the size using free transforms or T+ctrl. Next, add layer mask on the Stonehenge. Use quick selection tool and polygonal tool to select the unwanted part, then click backspace to erases it.
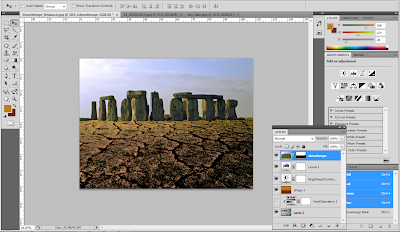 Add drought image, then adjusted it by going: adjustment> Hue/Saturation
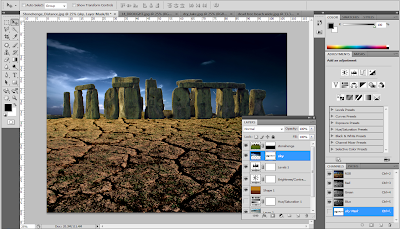 Delete Stonehenge sky using quick selection tool, and replace with other sky image.
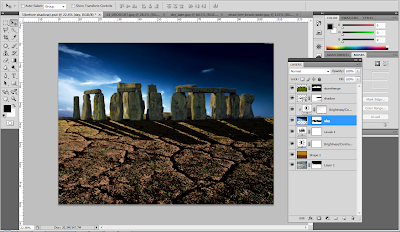
Duplicate Stonehenge image (ctrl+J), fill it with black color, and then convert into smart object. A shadow of the Stonehenge was form.

Add a skull image and duplicate (ctrl+J) the image. Use ctrl+T to transform the image size.

To create the skull shadow, duplicate the skull image and fill it with black color.
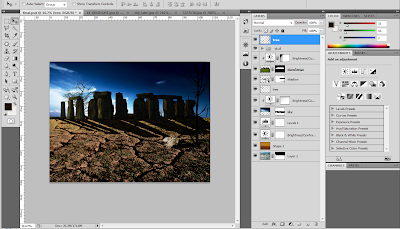
Add some tree by using the tree brush that I downloaded.

Later, I found out the sky is not suitable for the theme of the calendar, so I change it to another sky image. Use arrange document to make 2 up tab, click and hold on with the new sky, the carry it to the Stonehenge image.

Arrange the new sky image level below Stonehenge image level. Adjusted the brightness/contrast level.

Duplicate the floor level, and use polygonal tool to select the unwanted part after add layer mask. Click backspace to delete the selection.

Make a rectangular shape fill with black color as the cracking hole. Then remove the floor 2 image to left hand side. A crack floor was form.

Add some bush that I had download to form image of the thunder and the cracking effect on the Stonehenge and floor.

This is the final image after the calendar is template.
No comments:
Post a Comment