Images that used in this calendar.
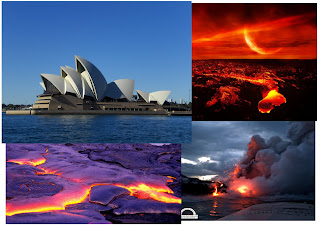
Open the original image. [File>Open]
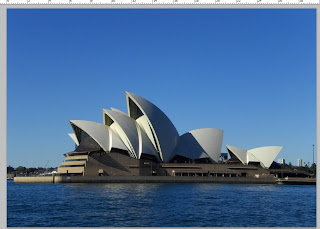
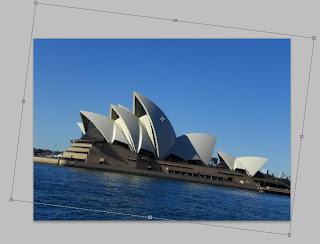
Duplicate the layer and select the layer above, adjust the size of the image and make it become bigger, rotate a little bit like the image that shown below.
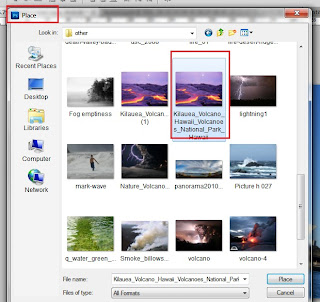
[File>Place] to place another image for the ground.
Add layer mask and select brush tool, make sure that the foreground color is black, then paint the area that wanted to remove.

On the same layer, adjust the darkness of the ground. Go to [image>adjustment>curves] and I've made the gradient as shown below.
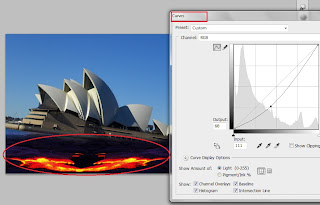
Place another image for the ground too. [File>Place]
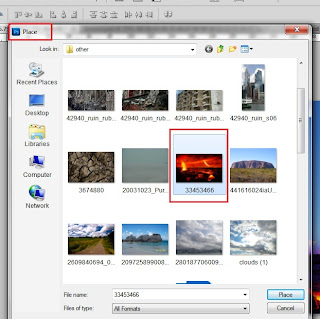
Place and adjust the image like this.
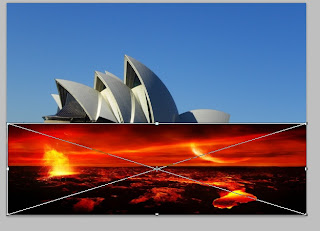
Add layer mask > brush > then paint off the unwanted area.

On the same layer, change the blend mode to 'Exclusion'.

Then the current outcome would be like this.
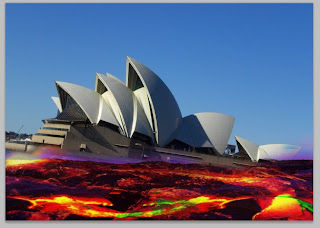
Place another image for the sky. (i've used the same image with above)
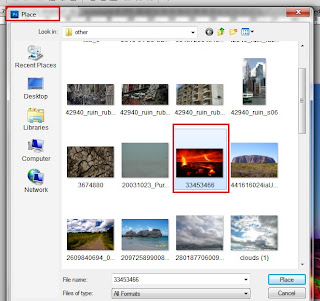
Place and adjust the size as shown below.
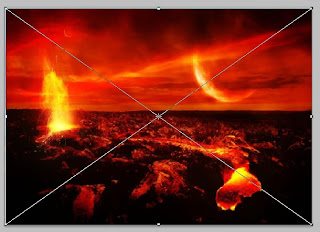
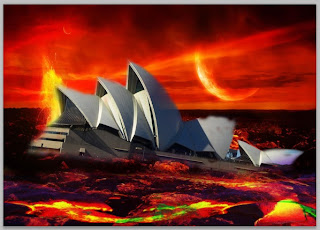
Same technique, add mask layer and choose brush to remove some area.

Currently outcome :
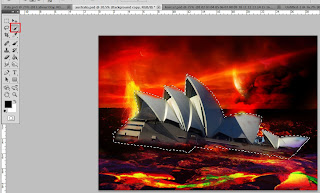
Select on the building layer, then select quick selection tool to select the building.
After that,click on the new layer button to add a new layer. Then go to [Filter>Render>Cloud].
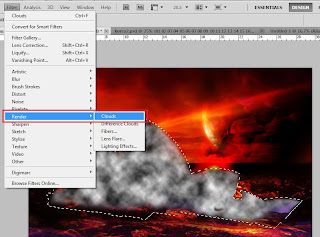
Change the blend mode to 'Multiply'. Then,drag the 'cloud layer' and place it under the 'sky layer' like what i've shown below.
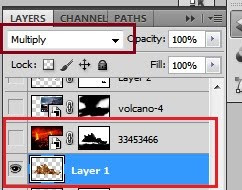
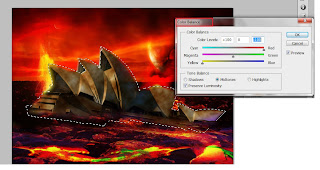
On the 'cloud layer', adjust the color balance as shown.
Place a smoky image to make some additional effect.
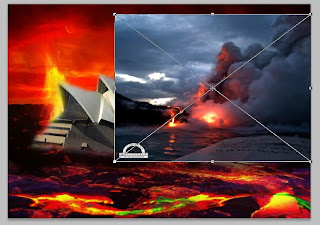
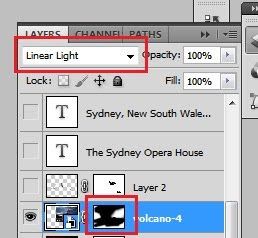
Add layer mask to remove unwanted layer and change the blend mode to 'Linear Light'.
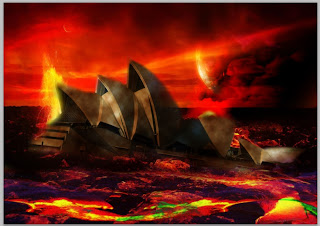
Then the current outcome would be like this.
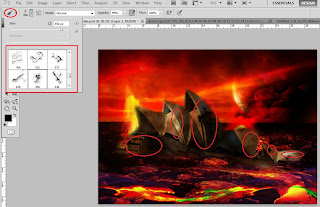
Add a new layer.Then, choose brush tool and select on different type of cracked brushes.
Paste the brushes on several area.
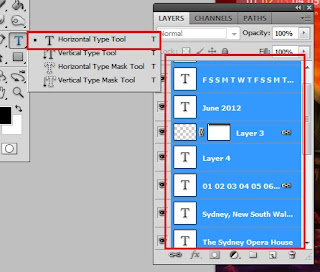
Add the location and the calendar by using horizontal type tool.
Finally, the calendar of june is DONE.

No comments:
Post a Comment