
these are the images used in the process
First I created a new canvas which is landscape a4 sized and placed the image of the sea onto it.


To create a stormy color for the sea, we need to change the levels and color balance. Go to Image>Adjustment>Color Balance/Levels.

These are the settings I've used.

Next, place the image of the cloud on the layer behind the 'sea' layer. By using the healing brush tool I removed the lights on the clouds by selecting the darker areas to give a more gloomy feel.

Next, open the statue of liberty image on a new tab and crop the background out by using the magic wand tool. Place it on a new layer, use free transform to resize and flip it horizontally and place it as shown in the image. Next, go to Image>Adjustment>Match Color and select the cloud layer as the source.

Duplicate the sea layer by pressing ctrl+J and select the eraser tool and soft brush, erase till the head and arm of the statue is visible.

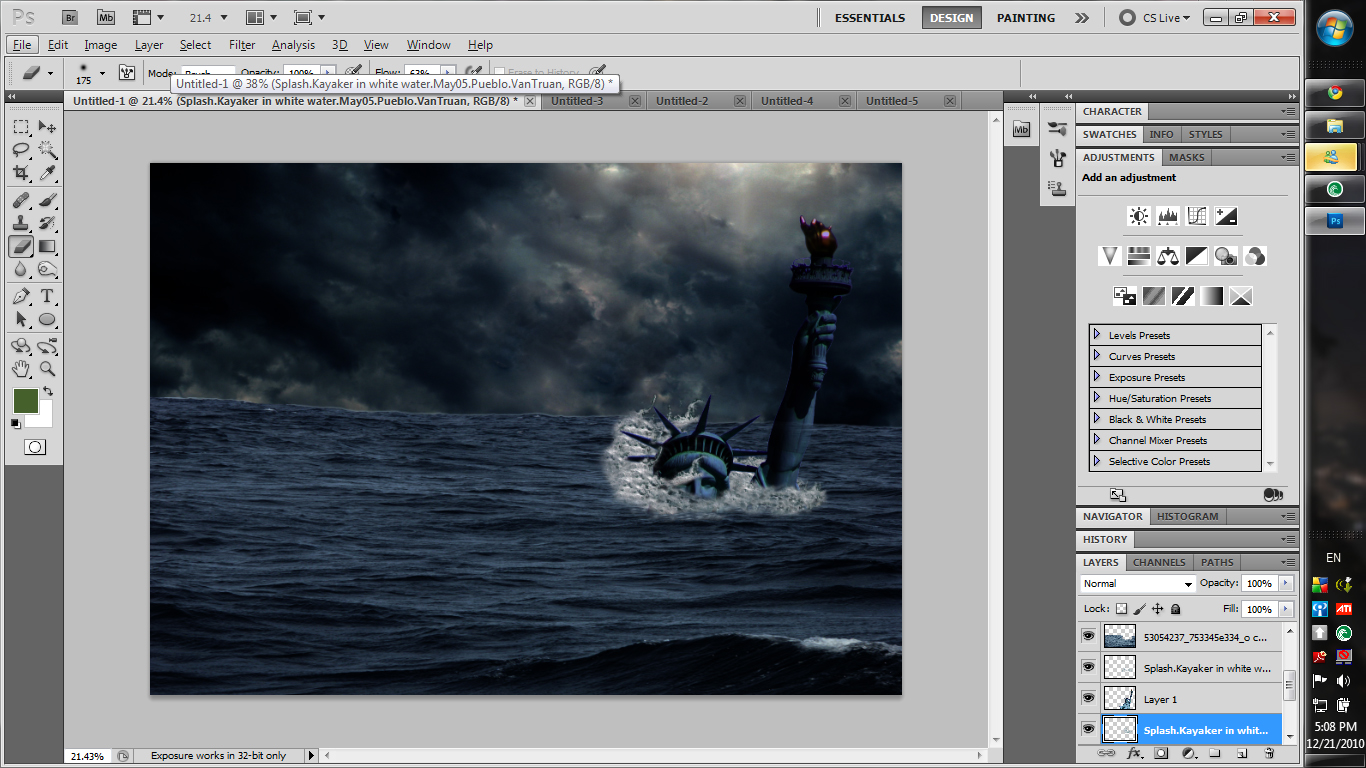
Duplicate and crop out a bottom of the sea, where there is a wave breaking. Set the blend mode to lighten and remove unwanted parts with the eraser tool.

Place the wave as shown in the image and use the clone stamp tool to create more waves around the statue.

Next, place the image of the man kayaking and resize it to desired size. By using the eraser tool and soft brush selected, remove the man and unwanted sea water; leaving only the splashes.

Place the wave layer under the statue layer. Use clone stamp to create more splashes, making it more realistic. Keep on cloning until you are satisfied with the results.
Duplicate the wave layer and place the layer above the statue layer. Again, use clone stamp tool to create more splashes around the face and arm of the statue.

Open the boat image on a new tab and match the colors of the sea by going to Image>Adjustment>Match Color and select the sea layer as source. Roughly cut it out and paste it on the original project after that. Set the blending mode to pin light and erase unwanted sea water using the eraser tool. Then, duplicate the layer and set the blending mode to normal and erase everything else except the deck and the mast.

For the storm effect, place the lightning image on a new layer. Match the colors to the colors of the sea.

Copy the image into the main project, resize and position it behind the sea layer. Change the blending mode to Lighten and erase the background with eraser tool.

Now for the rain effect, create a new layer (ctrl+shift+N) and go to Filter>Render>Clouds. Make sure the color palette is set to white and black before that. Then, go to Filter>Noise>Add Noise and add 60%Gaussian Monochromatic noise to the clouds. After that, go to Filter>Blur>Motion Blur and set the values to angle 74 and distance 44.

Change the layer's blend mode to screen and the opacity to 16%. Lastly, I adjusted the color balance as shown in the image:

After the adjustment, this is how the final image looks like:

This is the image after the calender is added in.

No comments:
Post a Comment